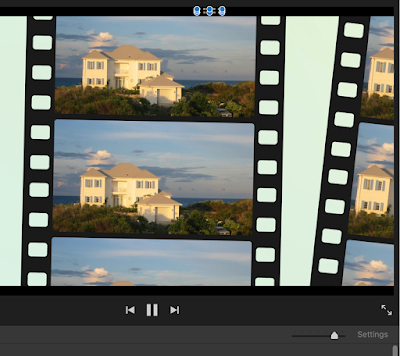
 In Lockdown there seems less time.Weeks and months Zoom by. I watched a Webinar offered by Harvard Business School on leadership forged in a crisis to organize your life. My Webinar smartly suggested narrowing to three things rather than try to do all temptations, but once again, I go for more.
Having made a Father's Day iMovie for son and been surprised that so many don't make iMovies (what originally drew me to Mac computers), I thought I would write how. Go slowly. Read all words carefully. Keep trying. It is worth it! (See way below)
How to make an iMovie:
1. Click on iMovie (Star in dock) and choose Project (new) and name it.
2. Above your Project name (formerly My Movie), go to Audio (up at the top) and choose a song that fits the project or person.
3. Slowly and carefully drag the song down to the bottom canvas (the song will open up and be a long green line).
4. Go back up to My Media: Photos (on the left side), and find pictures to carefully drag in above the green lines of music. Drag photos from elsewhere to the top of the green line music.
5. Organize (click on and move) the photos along the line into a story by choosing with arrow and moving them around. Again, slow down.
6. Go back up to Titles and drag a title over a photo at beginning of your photo line and a title at the end. (Later you can add titles or text throughout the iMovie.)
7. In the preview box in the upper right hand corner of your screen where you are watching your progress, look for a cropping symbol for the Ken Burns effect and adjust the beginning and ending of how each photo will appear....each one.


Loved the real video and appreciate your step by step process... one question: who is the little blond girl on the film strip below you and Joe?
ReplyDeleteHannah...
ReplyDeleteUsually my name and face appear here, so I have no idea if this will post or not! But I loved this blog post. I plan to copy it off and print it, for some future occasion when I want to make a movie. Thanks! OH, yay! I signed in and it worked, so here I am!
ReplyDeleteI'm sending to my Mac-devoted daughter.
ReplyDeleteAnd I need your seminar!